Digital Signage Installation Guide
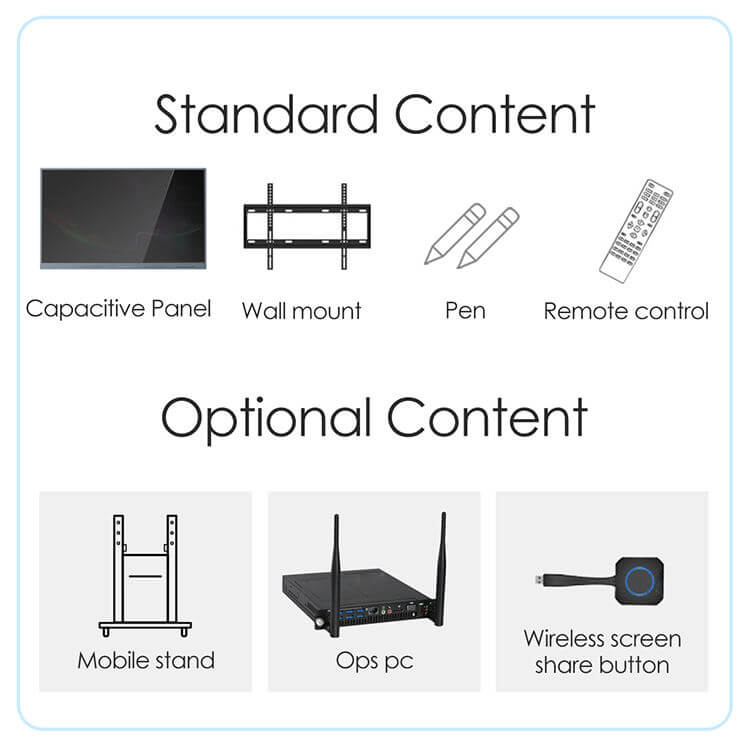
Wall mount, ceiling mount, bracket stand (choose 1 out of 3)

Option One

Option Two

Option Three

Option Four
Tools Required for Digital Signage Installation
Before we delve into the steps of the digital signage installation process, it’s important to know the tools you’ll need. Having the right tools can make the installation easier and ensure a stable and secure setup. If you have a digital signage installation service you need to have the tools mentioned in the following sections, to ensure you will be capable of installing digital signage in most instances.

1. Mounting hardware for Digital Signage
The type and size of your display will determine the kind of mounting setup you’ll need. This could range from wall or ceiling mounts to brackets or stands. It’s crucial to choose the right hardware to ensure the display is securely held in place.
2. Power drill and drill bits
These are essential for securing the mounting brackets to the wall or ceiling. Make sure you have the correct size drill bits for the screws you’re using. Also, remember to use masonry bits for drilling into brick or concrete.
3. Screwdrivers
You’ll likely need both flat-head and Phillips-head screwdrivers during the installation process. These tools are used for various tasks, such as securing screws or adjusting the position of the display.
4. Level
A level helps ensure your display is perfectly horizontal. This is particularly important for larger displays, where even a slight tilt can be noticeable.
5. Stud finder
If you’re mounting the display on a wall, a stud finder is invaluable. This tool helps you locate the wooden studs behind the drywall, providing a solid anchor point for your display.
6. Cable management supplies for digital signage
Proper cable management is key to a professional-looking installation. Supplies like cable ties, clips, trunking, or conduits can help you keep cables tidy and out of sight. The choice of supplies will depend on the complexity of the setup and the number of cables involved.
7. Ladder
For high or overhead installations, a ladder is a must. Be sure to use a sturdy, safe ladder that can reach the necessary height comfortably.
8. Safety equipment
Safety should never be compromised during the entire process of digital signage installation. Wear safety goggles to protect your eyes from dust or debris, gloves to protect your hands, and protective footwear in case you drop a tool.
Step-by-Step Guide to Digital Signage Installation
Installation of digital signage is tricky, especially for large-scale projects that involve using complex screen networks or advanced solutions. It is important to understand how digital signage is installed, the main challenges involved. The following sections cover the major steps in digital signage installation in most instances.

Step 1: Planning digital signage installation
Before you start installing digital signage, take some time to plan. Consider the placement of your digital signage. Ensure it is in a location where it’s easily visible to your target audience and does not obstruct traffic flow. Also, consider the proximity to power sources and network connections, if needed.
Step 2: Mounting the Display
After deciding on the location, you can mount the display. Use stud finder to locate a secure anchor point. Mark the points where the screws or bolts will go, ensuring they align with the mounting holes on the display or the mounting bracket. Use the level to ensure your markings are straight, then drill the holes and secure the mount.
Step 3: Setting Up the Digital Signage Display
Once the mount is securely in place, you can attach the display. This process can vary depending on the type and size of the display, so always refer to the manufacturer’s instructions. Ensure the display is securely attached to the mount before letting go.
Step 4: Connecting the Digital Signage Display
Now it’s time to connect the display to the power source and the digital signage player. This could be a standalone device, a PC, or even a cloud-based system. If the display is part of a networked system, connect it to the network. Make sure to manage the cables neatly to avoid tripping hazards and to maintain a professional appearance.
Step 5: Configuring the Digital Signage System
With the hardware setup complete, you can now configure the digital signage software. This could involve setting up playlists, schedules, and display zones, as well as configuring network settings if the display is part of a larger system. Using the appropriate digital signage software makes the management easier.
Step 6: Testing Digital Signage
Finally, run a test to ensure everything works as expected. Check that the display is clear and bright, that the content plays correctly, and that the system responds to commands from the central control point, if applicable. Testing should ensure all the aspects of your digital signage is error free and working as expected.
Perfecting Your Digital Signage Installation
A well-executed digital signage installation can greatly enhance the effectiveness of your communication strategy. While the process might seem daunting at first, breaking it down into manageable steps can make it much more approachable.
Remember, the key to a successful installation lies in careful planning, using the right tools, and following the manufacturer’s instructions. With these tips in hand, you’re well on your way to a successful digital signage installation. Choose the digital signage installation services that have exhibited proven expertise in the field.
